Showing posts with label tips. Show all posts

June 28, 2011

Tips and Tricks Tuesday: Making Your Own Fabric Labels

Fabric labels are a great addition to clothing, accessories, or even a fabric-based art piece. I always think a label makes something look just a little more professional and special. I've never tried labeling my items, however, so I am excited to try out this week's tutorials!

Thank you to Bekah, aka Beetastic, for the idea for this week's post, and the link to the first tutorial!

Making Labels Using Twill Tape and Iron-On Transfers : With this method, you print the text onto the iron-on transfers (which you can purchase at stores like Wal-Mart or Michael's), apply the transfer to ribbon or twill tape, and then apply the tape or ribbon to the item that you want to label.

Video: Using Freezer Paper and Normal Computer Paper : With this method, you use your ink jet printer to print the text directly onto the fabric, then cut the fabric and apply it to the item you want to label. This method is going to be cheaper, but has more room for error since not all ink jet printer ink is going to be permanent even when heat set.

Making Labels for Clothing Using Your Printer: This method discusses pre-treating your fabric to make it "take" the ink more easily.

If you have a typewriter, try these Typed Labels. This method is quick, easy, and has a cool retro feel to it. These make me want a typewriter!


June 14, 2011

Tips and Tricks Tuesday: Social Media Part One

New members- Be sure to use our "Categories" drop-down menu on the right to be able to access all the previous tips and tricks! Or use this link. You can also use the categories drop-down menu to see all our featured sellers, treasuries, patterns, etc!

For your reading enjoyment today I bring you a collection of resources that can help you using social media on Etsy. Next week I'll focus on creating your own videos, like the Flickr video featured below!


June 7, 2011

Tips and Tricks Tuesday: Writing an Effective Listing Description

Thanks to JuneAtNoon for today's topic idea!

The styles that sellers on Etsy use to describe their items are as varied as the items themselves. I've always thought that less is more with descriptions-- You want to cover all the important information, but don't babble or tell an unnecessary story.

What IS the important information, however?

1. What are you selling?
Be specific: Not "a shirt", but "A hand embroidered yellow cotton button-up shirt"

2. How was it made?
It isn't necessary to provide a detailed tutorial by any means, but state the technique used. Hand embroidery is different from machine embroidery or screenprinting, so it's important to say your items are hand embroidered!

3. What does it look like?
Assume that the buyer's monitor may not show the same colors or textures that your monitor shows. If the shirt is canary yellow, say so! Describe the artwork if applicable.

4. What size is it?
Provide measurements in addition to any common size descriptors (small, large, etc.).

5. What is it made out of, and how does the buyer need to care for it?
Specify the fabric content when applicable. Even if care seems obvious, at least mention it. For example, many people wear their jewelry EVERYWHERE so they may need to be reminded not to wear a bracelet with a fabric base in the shower or pool.

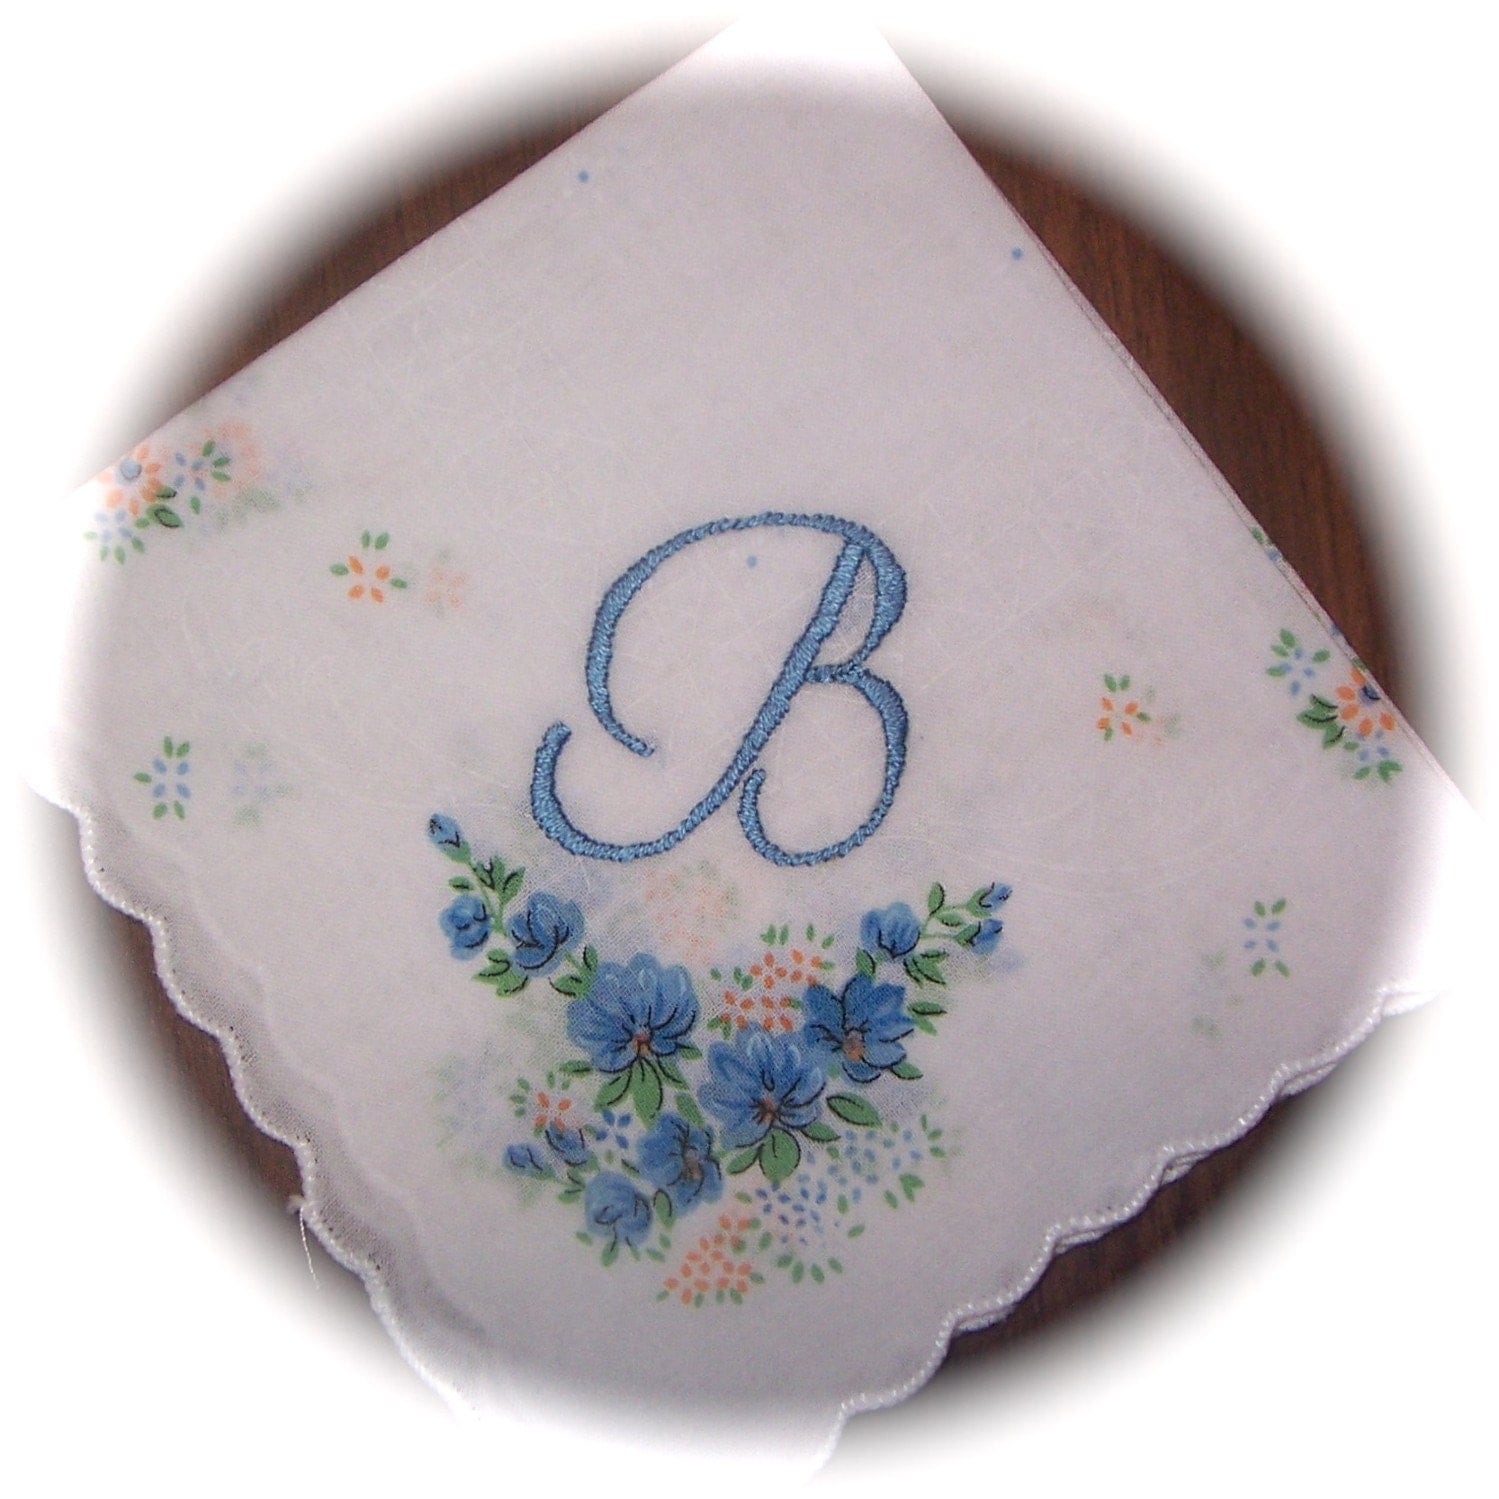
Above and beyond this basic information, you will probably want to include something about what the intended purpose of the item is. For example, I include a short paragraph about giving my monogrammed handkerchiefs as wedding gifts. If your item is made to order, it's smart to include an estimated turnaround time. You may also want to explain the reason for a seemingly high shipping cost (if the item requires Priority mail, for example).

Now, I'm off to check my own descriptions!

May 17, 2011

Tips and Tricks Tuesday: May Flowers

This week I bring you a collection of tutorials on embroidering flowers... Because April showers bring May flowers! (Here in central NC it's been April showers bring more showers... Ugh!)


If you use any of these tutorials, be sure to post pictures and link here in a comment!

May 3, 2011

Tips and Tricks Tuesday: Store Your Thread!

How do you store your embroidery floss?

I'll admit, some of my "method" involves stuffing it into a box to sort "later" (and later... and later...). However, I do use some organizational tools, and I found a few interesting ideas online as well.

My favorite organizing piece- the divided plastic box. I like "Prism" by ArtBin because it's thick, snaps shut well, and wasn't expensive. I have the box with six different compartments. I put different color families into each of the sections so it's easy to find the color I need for a project. I don't use the traditional little white cardboard cards since they tend to kink the floss, so I keep the papers on and lay the skeins down flat in the containers.

I covet one of these DMC floss cabinets. A little out of my price range, but how cool! They remind me of vintage store displays.

How much fun is this "Dollar Store" craft-- Ice trays used for storage AND easy identification of colors.

This cute vintage domino box makes great storage for floss once the skeins are wound on cards (or in this case, plastic canvas).

This box-and-bag method looks like a lot of work, but the results are great.

This blogger had the same problem I've had with many of the notebooks marketed to embroiderers-- the floss falls out! She solved the problem with a little ingenuity and sewing.

April 12, 2011

Tips and Tricks Tuesday: Huck or Swedish Embroidery

One of my favorite retro embroidery styles is Swedish embroidery, often referred to as huck embroidery since it often uses huck toweling. (Monk's cloth is another popular base for this style, especially when creating hand embroidered afghans.) It is also referred to as Swedish weaving since it alternates the threads of the embroidery floss with the threads of the toweling.

Coats and Clark offers a free PDF on their website that includes patterns for Swedish embroidery. Check it out here.

This popular booklet by Coats and Clark has been reprinted several times (I own one and I love the patterns). It features Swedish weaving along with other types of needlework.

Avery Hill also provides free instructions. These appear to be vintage, but the age isn't indicated.

One word of warning... I've heard people say that they have trouble finding the huck toweling or monk's cloth needed for these projects. My local Jo-Ann Fabrics sells it, but you may have to look online!

April 5, 2011

Tips and Tricks Tuesday: Improving your Etsy SEO

Your SEO, or Search Engine Optimization, is an important part of getting your work seen by potential buyers. Search engines like Google only use a certain number of characters, so you have to use your title and description, shop announcement, shop title, etc. carefully. You don't want to waste valuable characters on words that buyers aren't going to use in a search.

I recommend starting with Etsy's HELP guide to SEO here. It tells you which parts of your shop and listing are used for search engines, so you can tailor your keywords to achieve the greatest impact.

Handmadeology has an excellent post about SEO.

Etsy user "SEOWebDesign" has a great series in the forums that goes into lots of detail about SEO. Find the first post in the series of six here.

There is also a video on this page, created by DanielleXO (Etsy admin).

An important SEO tip: set up Google Analytics if you haven't already. (What is Google Analytics?) This will help you figure out which search keywords to use once you know where to put them. To set up Google Analytics with your Etsy shop, log in to "My Etsy", go to "Options" and "Web Analytics". This will allow Google Analytics to access your shop to create your analytics reports. I use two main features on Analytics-- both are under "Traffic Sources" (on the left hand menu when you log in to Analytics). One is the list of referring sites-- this tells you which websites people are using to access your site. The second is the list of keywords-- this tells you which search terms people use to find your products.

March 29, 2011

Tips and Tricks Tuesday: The Perfect Satin Stitch


Today I'm bringing you a collection of tutorials and my own advice about how to perfect your satin stitch.

1. From "Stitch School", a blog all about stitches: Satin Stitch

2. The classic Sharon B's stitch dictionary: Satin stitch

3. From Needle 'N Thread: Serious Padded Satin Stitch

(Don't want to satin stitch today? Try crayon tinting with this excellent tutorial... I plan to write my own soon, but this one pretty much covers it!)

My personal advice about satin stitches:
1. Use fewer strands of floss-- 2-3 is ideal for most projects. I've used all six before for a fun, chunky look, but not a classic satin look.

2. Use satin stitches on small areas. If you try to cover too large an area, your stitches will hang loose and look bad.

3. Cover the entire back the same way you did the front. This gives more stability to your stitches and makes it easier to keep them close together.

4. Even if you prefer surface embroidery (like me), practice your satin stitch on aida cloth (cross-stitch fabric). This will allow you to get a hang for spacing out your stitches correctly.


March 8, 2011

Tips and Tricks Tuesday: Stitching on Dark Fabrics


Today I'm going to share a few different tutorials for hand stitching on dark fabrics.
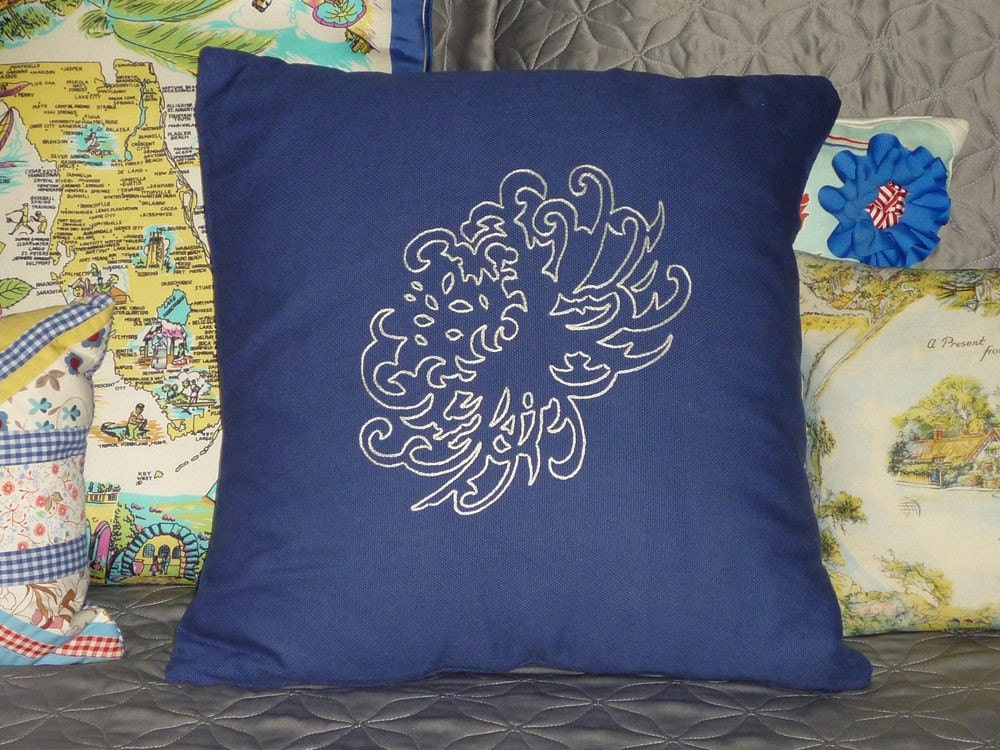
Pillow by Melysbaby

My tutorial, written last August. I wrote a tutorial while working on a large pr
oject that involved lots of stitching on black fabric. I still haven't tried Jenny Hart's transfer paper, but I am actually planning to buy some soon. Sullivan's stopped making their version and I can't find any more closeout packages!

Jenny Hart also recently posted a tutorial about stitching on dark fabrics. Her technique is the same as mine, but her pictures are much better... MUCH.


I found this tutorial by Pin Tangle that talks about a product called "Transdoodle", but the only places I found Transdoodle online were out of stock or very pricey. I'd be interested to hear if any "NEATers" have tried Transdoodle.

This tutorial by Kristy doesn't use transfer paper. Instead, she transfers the design to a water soluble plastic (basically water soluble stabilizer-- it's the same stuff) and stitches through the stabilizer and the fabric.

What have you stitched on dark fabrics?

March 1, 2011

Tips and Tricks Tuesday: Advertising and Promotions

When I first started selling on Etsy in early 2006, the venue was small enough that I frequently made it to the front page (which never happens now)...If someone searched for "embroidery", I was sure to pop up. There were only 16 pages of jewelry, and we thought that was a lot! If you want your shop to get noticed nowadays, however, you have to promote and advertise.

There are several ways to promote that are free. Facebook and Twitter are both popular. I wrote about Facebook pages a couple of weeks ago. Blogs are also popular, though I have to admit I'm not sure mine is benefiting me much since it's so ugly! A well-designed blog with interesting content can definitely be a promotional asset, however. Also, the new set up of the Community pages has spawned hundreds of promotional teams. I'm the leader of one, called the SNS Saturday Night Specials team, and the member of a couple of others. Using teams to promote is also a good way to network with other crafters and make friends, so it's doubly beneficial.

Paid advertising is always an option too. One method of advertising is Etsy's "Showcase" spots, available for $7/day in a category. I found several blog posts detailing seller's experiences with the showcase, but none recent. Etsy has made some changes to the Showcase feature recently which may change the viability of this feature-- Read this thread from December. RobWhite announced that Showcases were being "pruned", so I would personally recommend avoiding this paid option until Etsy gets all its ducks in a row.

Off-Etsy advertising on blogs and other sites is another option. EtsyNEAT leader PilousPercilla has experience in this area, so I asked her to write a bit about her experiences:

James and I started trying out paid advertising in December after opening James’ photography shop Squidflex. We chose to advertise with a popular, but reasonably-priced blog (Today’s Letters). Since then, we have done some form of paid advertising each month including blogs and one round on craft cult. Thus far it has been a pretty good experience and while we haven’t seen an increase in sales from our ads, I do think it has helped with bringing in traffic and adding to favorites of our shops and items.

I think the most important thing to keep in mind when deciding if you want to try out advertising is to choose a site/blog that you think fits your style and target audience. If you’re like us and sell work that may be a little unusual, it may not be the best use of your advertising dollar to place an ad on a blog whose readers aren’t likely to be interested in your art. We try to pick blogs that we already read and love…that way we know the writer a little and we feel we know the audience (since we’re part of it). If you create items for children, try a “mommy blog”, if you make items that are very design-oriented try one of the popular home/design blogs and so on. We also always try to choose a blog that offers a specific sponsor write up each month, that way we get more exposure than being just a little nameless button on the side.

Pricing is another big thing to consider as well. Most blogs who offer advertising have specific pages that tell you information like what their readership numbers are and page views and then their ad sizes, costs and what would be required (do they want a specific sized button, a large promo photo of your work or you, a write up about you business). We typically pay $10-$20 per month for a spot. Most blogs increase their prices as their reader numbers go up, but if you stay with them month-month you usually lock in the lowest price. You may be shocked by some blog’s prices…there are some that charge $75-several hundred dollars for one month on their sidebar, that’s not worth it for us but if you are a bigger shop that does a lot of sales…it may be for you.

Some blogs like to offer giveaways to their readers from their sponsors, this is almost always voluntary, but a great way to get more traffic to your shop! Chose an item that isn’t too terribly costly to create or even one you feel you need to move from your shop. Most bloggers will require readers to visit you shop and comment on their favorite item to enter the contest (more traffic). Currently, we are offering a giveaway with one of our sponsored blog (
www.loveelycia.com) and so far we have had many entries and she has posted a button on the main page, encouraging more entries. All of this is bringing potential buyers unto your store, they may not buy something now…but they are adding you to their lists.

There are some other parts to advertising, like how to create a button for your ad, creating specific coupon codes and ad write ups. I can answer any questions you all may have about that or any other aspect of advertising. This coming month we are cutting down to two ads, one on Today’s Letters and another with Elycia (for the All Night Diner shop). I will post links to the sponsor write ups when they go up here in the comments so you can see what one looks like.

February 8, 2011

Tips and Tricks Tuesday: Needle Felting


Every Tuesday, Katie Moore of MutantAngel will bring you Tips and Tricks related to the Needle Arts and Etsy.

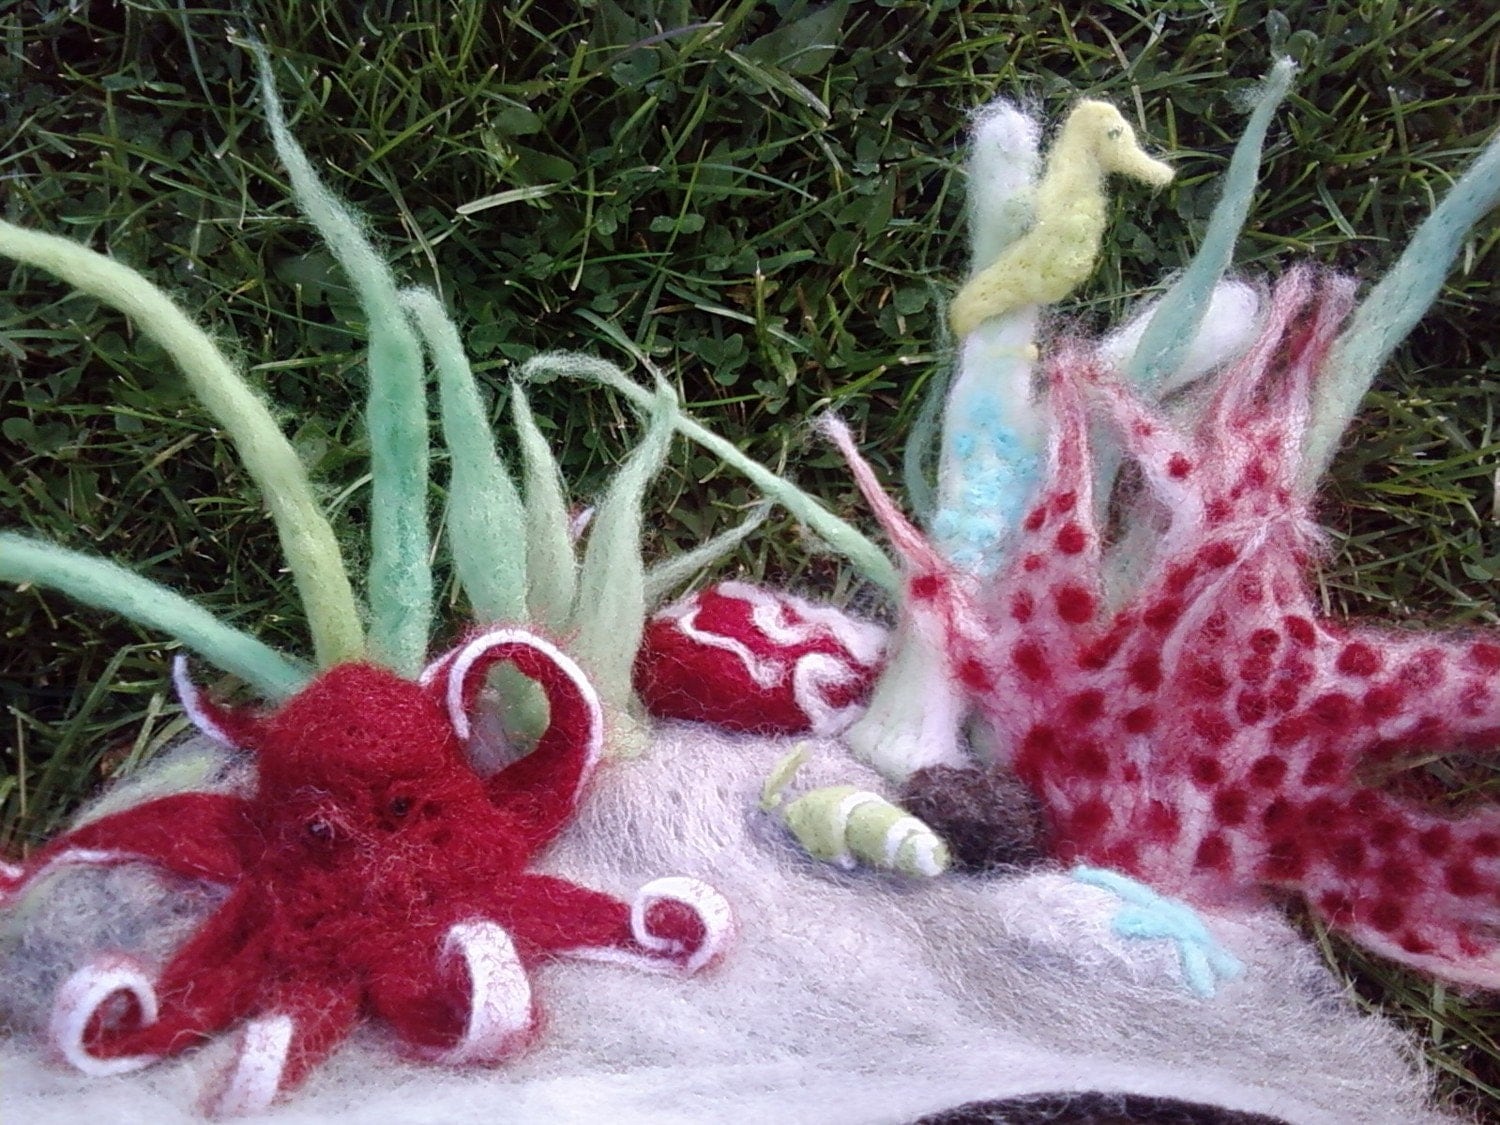
Needle felting seems a little bit like magic, doesn't it? A ball of what looks like useless fluff somehow turns into a tiny bird or a beautiful piece of jewelry. I've seen needle felting demonstrations at the North Carolina State Fair, and even tried the art for a few minutes, but it still amazes me. I decided to do some research to see how it's done.


Needle felting is unlike other types of felting because you don't need soap and water. You use a special type of needle with a barb on the end and repeatedly push it in and out of a piece of wool roving. It sounds simple, but the trick is shaping the wool into something other than a weird little knot. The use of templates or wire "skeletons" helps crafters create unique shapes and creatures.

(What is "wool roving", you ask? My layman's understanding is that it is basically cleaned wool that has been threshed and/or dyed. Basically, wool that's not straight-off-the-sheep, but not made into anything yet either.)


Several places mention to be VERY CAREFUL with felting needles... Apparently they are much longer than normal needles and since you're quickly jabbing them in an up-and-down motion one can easily injure a finger! This is not a craft for unsupervised children.


Make a Needle Felted GNOME -- I'll admit I'm not "into" gnomes, but this is just too cute and actually seems do-able.

Etsy seller FancyTiger sells several tutorials for needle felted pieces -- The "T-Bone" is my favorite.

If you're like me and love the look of needle felted pieces but are already "taken" by another type of Needle Art, why not purchase a needle felted piece from one of out EtsyNEAT artists, WoolyfeltCreations?