
Today I'm bringing you a collection of tutorials and my own advice about how to perfect your satin stitch.
1. From "Stitch School", a blog all about stitches: Satin Stitch
2. The classic Sharon B's stitch dictionary: Satin stitch
3. From Needle 'N Thread: Serious Padded Satin Stitch

(Don't want to satin stitch today? Try crayon tinting with this excellent tutorial... I plan to write my own soon, but this one pretty much covers it!)
My personal advice about satin stitches:
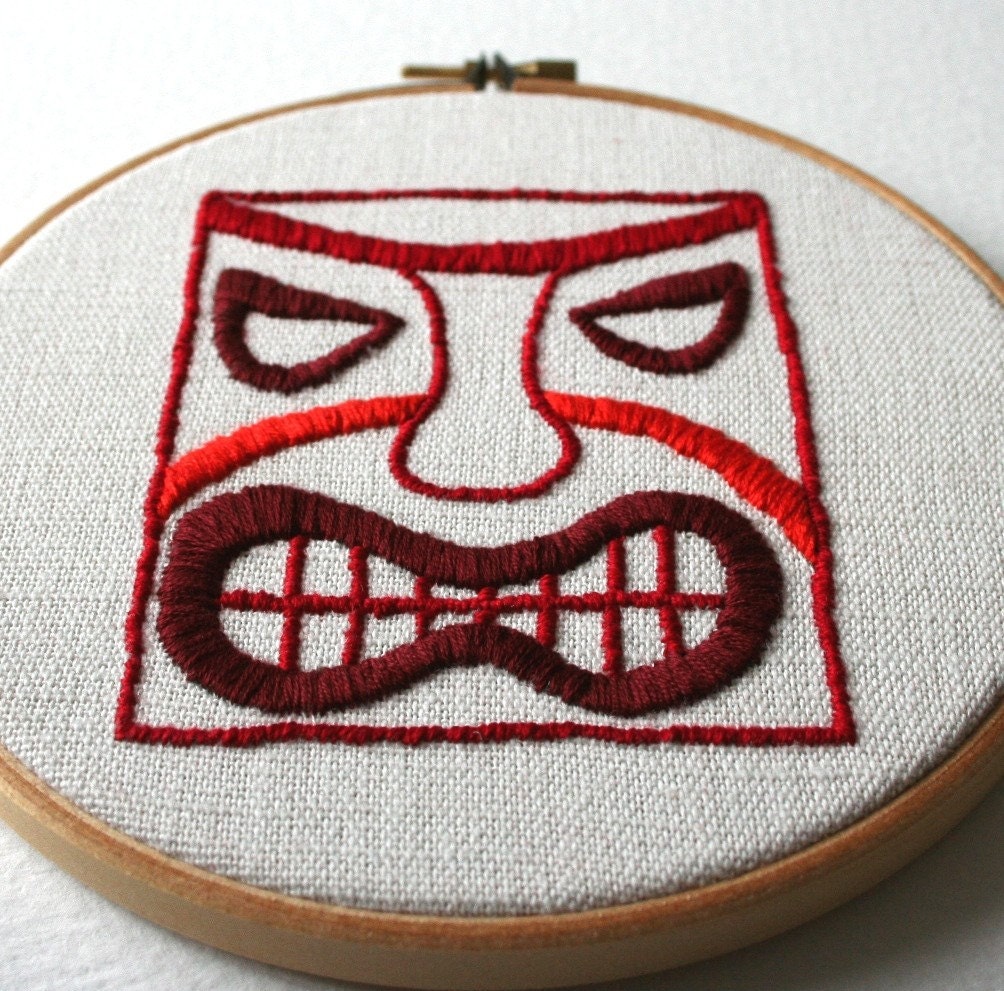
1. Use fewer strands of floss-- 2-3 is ideal for most projects. I've used all six before for a fun, chunky look, but not a classic satin look.
2. Use satin stitches on small areas. If you try to cover too large an area, your stitches will hang loose and look bad.
3. Cover the entire back the same way you did the front. This gives more stability to your stitches and makes it easier to keep them close together.
4. Even if you prefer surface embroidery (like me), practice your satin stitch on aida cloth (cross-stitch fabric). This will allow you to get a hang for spacing out your stitches correctly.
Wonderful tips. Sure wish these tips were around (or I knew where to find them) when I was first doing satin stitch. Mine used to be so lose and horrible.
ReplyDeleteI definitely agree that fewer strands get a neater look. Took me a while to figure that out! ;)
ReplyDelete